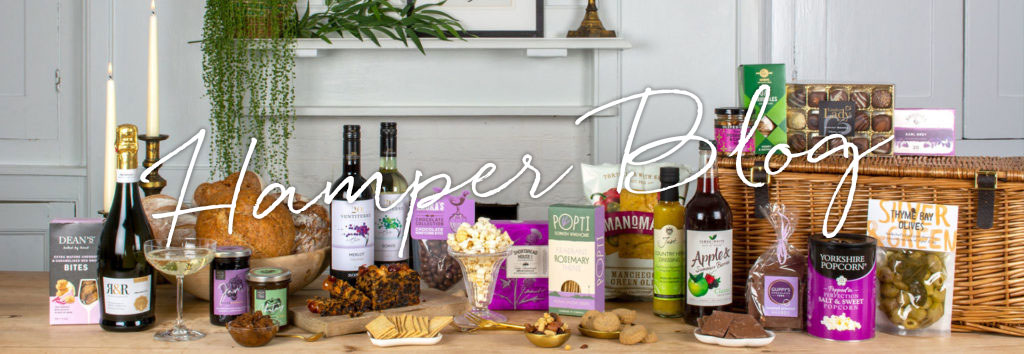
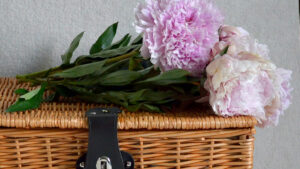
- What Type of Hamper Suits the Person You Love?
 Gift hampers are a customisable and thoughtful way to show your love and appreciation for someone special. They come in various types and categories, allowing you to choose the perfect … Read more
 - Mother’s Day 2024: The Perfect Gift Hamper for Your MumMother’s Day is a special occasion that honours the love and sacrifice of our mums. It’s a day to show appreciation to one of the most important women in your … Read more
- Celebrating Chinese New YearThe Chinese New Year, also known as the Lunar New Year, is about celebrating the new year and welcoming good fortune. It’s also about removing any old, negative energy from … Read more
- How to Style the Perfect Christmas Dinner TableThe festive season is nearly upon us, and one of the most cherished traditions of Christmas is gathering around the dinner table for a festive feast with family, friends and … Read more
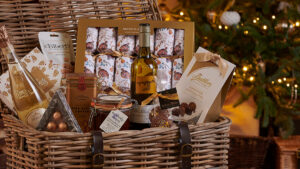
- Reasons Why a Christmas Hamper Is the Perfect GiftThe festive season is a time of giving, and choosing the perfect gift can be a joyful yet challenging task. If you’re looking for a present that embodies the spirit … Read more
- Five Types of People to Gift a Christmas HamperThe festive season is a time for spreading joy and showing appreciation to the people who enrich our lives. One of the most delightful ways to do this is by … Read more
- The Best Ways to Have an Eco-Friendly Christmas at HomeThe holiday season is a time of joy, togetherness, and celebration, and what better way to embrace the spirit of Christmas than by making it an eco-friendly one? In this … Read more
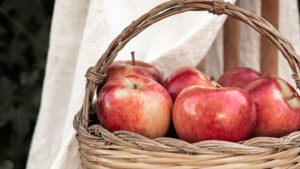
- Delicious Autumn RecipesThe autumn season brings a colourful bounty of seasonal ingredients, perfect for creating cosy and comforting dishes. As the leaves turn and the air gets crisp, it’s time to gather … Read more
- 2023 Autumn Bucket List: Fun Activities to Try This SeasonAs the leaves begin to change and the air turns crisp, it’s time to embrace all the wonderful activities that the autumn season has to offer. From indulging in the … Read more
- How to Hygge Your Home in 2023: Tips & Tricks for a cosy HomeHave you ever wondered how to create that warm, cosy, and inviting atmosphere in your home? The Danish concept of hygge (pronounced “hoo-gah”) might just be the answer you’ve been … Read more
- Beach Picnic TipsBeach picnics are probably the most Instagram-able picnic settings of all, but they often have the most pitfalls. It can be hard to get them right, whether you’re contending with … Read more
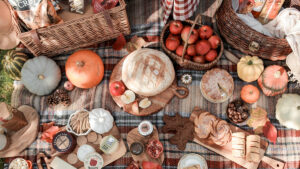
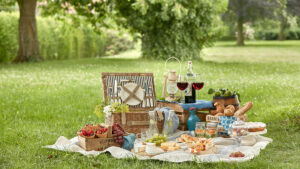
- Planning a proper posh picnicThe best picnics are never just thrown together, and if you want to create the ultimate posh picnic, then you’ll need to do your research and plan where you are … Read more


-
 Black Wire Baskets Set of 3£19.85 Inc VAT
 -
Bollinger & Chocolates£85.00 Inc VAT
-
Champagne Choice£37.50 Inc VAT
-
Chocoholic’s Letterbox Gift£17.50 Inc VAT
-
Coffee & Cake£39.99 Inc VAT