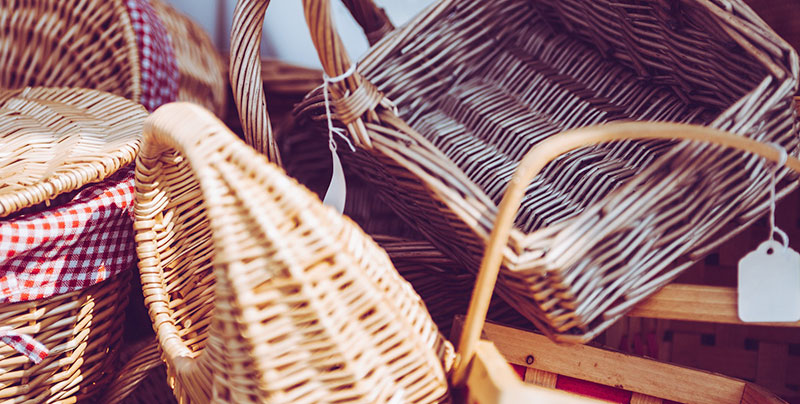
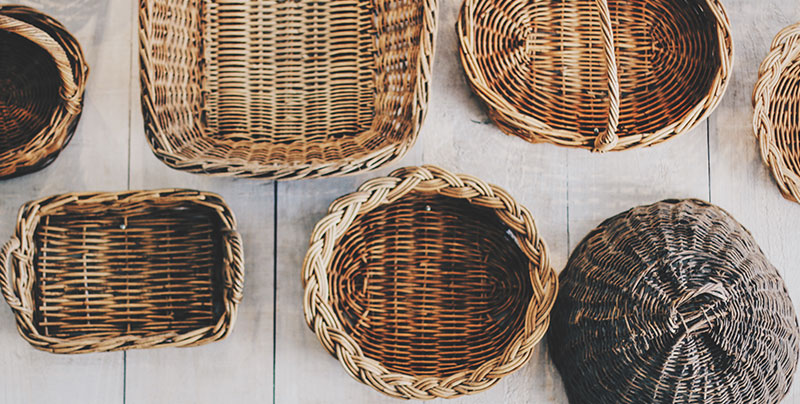
When it comes to creating a beautiful and personal gift for someone, a gift hamper basket piled high with all their favourite treats has to be one of the top choices, and it’s so easy to make one yourself.
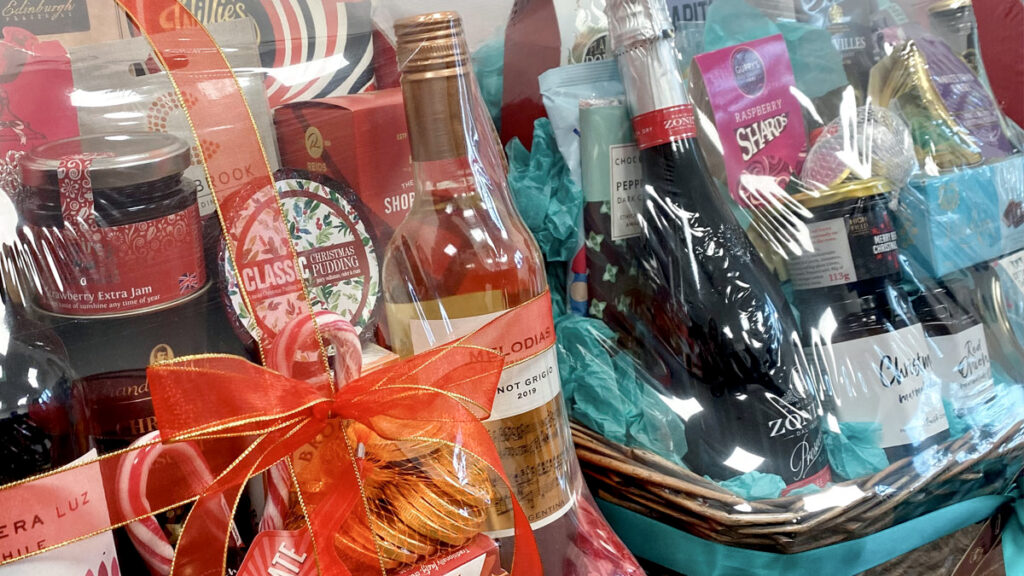
Once you have chosen the theme for your hamper, whether it’s a chocolate and wine hamper, luxury toiletries, or a range of sweet treats, all you need to do is get it looking great to make it the perfect gift.
One of the easiest ways to make it look really professional, attractive and to keep all the goodies safely inside, is to wrap it with shiny cellophane and tie it with a beautiful bow – and it’s not as difficult as it sounds.
Where do I get cellophane from?
Cellophane normally comes in large rolls, similar to Christmas wrapping paper and you should be able to buy it easily from your nearest craft store or search online for craft suppliers.

What kind of cellophane do I need to buy?
It’s up to you which type you want to buy and that all depends on the style of the hamper basket wrapping you want to do. You can get cellophane paper in a very wide variety of colours and patterns so you can buy one which matches your ribbon or reflects the content.
If you want the recipient to be able to see what’s in the hamper or gift basket straight away, then go for clear cellophane. You just need to buy enough to cover the size of hamper that you have chosen.
What else do I need to wrap a gift basket?
Scissors, sellotape that matches, a ribbon or bow
Step by step guide to wrap a gift basket
1. Prepare your cellophane
Once you have bought your roll of cellophane, you need to measure it out so that you have enough to completely wrap your hamper.
2. Clean your work area
You will need a large area to work in so that you can spread the cellophane out and it’s best to do this on a flat surface area like the floor or a large table.
Make sure the surface is clean and dry before starting to work.
3. Get the right length of cellophane
Unroll the cellophane so you have a large length available and put your hamper in the middle of this length.
Pull the cellophane up on either side of the hamper. You need enough to cover both sides of the hamper, and an extra 30cm to play with in addition to that.
Once you have the right length you can cut the cellophane.
It’s always better to cut it too long, than make it too short as then it won’t cover your hamper properly.
If it’s too long, you can always trim it at the end of the process, so err on the side of caution here.
If you are working on a really big hamper, you might need to cut two pieces of cellophane, and cross them under the container so each side is covered by a different piece.
As long as you have enough to cover, that’s all that matters.
4. Use sharp scissors
Use sharp scissors to cut the cellophane to the right length and try to avoid any tears or uneven edges.
You should be able to glide your scissors right through it to create a nice smooth edge.
5. Only wrap a packed hamper
It’s best to do all of this once your hamper has been fully packed and is ready to be wrapped, that way it will all be in the perfect position for you to finish off all the edges and tie the bow or ribbon at the end.
6. Check where the seams are
Make sure your hamper is right in the centre of the cellophane and it needs to be parallel with one of the straight edges.
This is to ensure you don’t get a seam up the front of your hamper, but instead a clear window of cellophane to look through.
7. Create a flower at the top
Pull up the two sides of the cellophane and hold them together above the hamper to create a kind of flower of cellophane at the top.
It doesn’t have to be smooth, it’s fine if it’s messy.
You will need to secure the flower so it might be easier to use a piece of elastic or a tie at this stage to secure it in place.
8. Add your decorative ribbon or bow
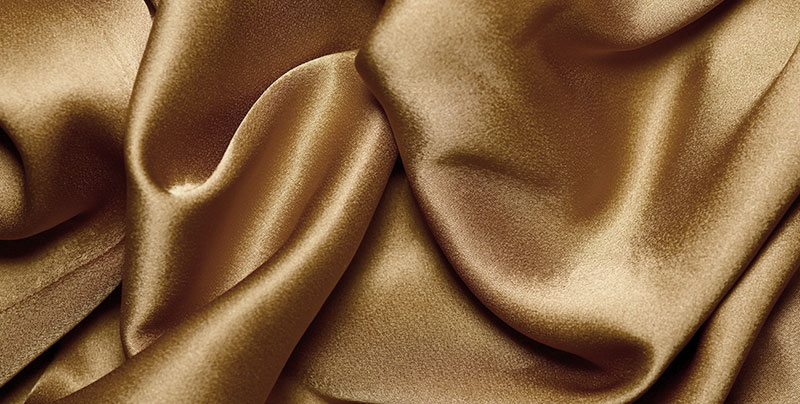
Once you have the top of the cellophane secured, you can cover your fastening with your decorative ribbon or use a bow, to tie around and not only will this look beautiful it will help to secure the cellophane in place.
You can use scissors to curl the ribbon if you want to make curly fronds to dangle down over your hamper, for added effect.
9. Trim and secure the edges
Now that you have created your flower, trim the edges if any are too long or sticking out. You also need to go round the basket and use your matching sellotape to secure any cellophane which is loose or not secured within the flower at the top.
You need to make sure there are no areas where you can reach into the basket past the cellophane.
Using cellophane basket bags instead of cellophane wrap
If using the roll of cellophane and the ribbon is a bit too fiddly for you when you need to wrap a gift basket, then you might want to consider using a cellophane shrink wrap bag.
This creates a different kind of look and feel and will secure your gift baskets or even a hamper much more tightly.
It’s a great option if your gift baskets contains fragile or loose items as it will hold them in place.
In this method, you need to buy a shrink wrap bag that is big enough to hold your gift baskets. Again, you can get these from most craft shops.
They are already pre-sealed across the bottom and the sides so are very simple to use, but you will need a heat gun.
All you need to do is open the cellophane bag and place your hamper or gift basket inside it, at the bottom centre of the bag.
Again, you need to work with your hamper already filled as you can’t undo the bag once it has been shrink wrapped.
Once the hamper is at the bottom, pull the sides of the bag up and fully extend them around the whole hamper.
Don’t worry if the basket bag looks too big, it is going to be shrunk to the right size shortly.
Create a flower at the top in the same way as described above and secure it with a tie or elastic so it stays in place. Don’t add the ribbon or big bow yet though as you are not finished.
Use your heat gun slowly and gently over the cellophane to shrink it. Make sure to hold it around six inches away so that you don’t melt or burn the cellophane.
You can also do this with a hot hairdryer.
Once you have shrunk the cellophane to fit neatly around your hamper, then you can tie your ribbon around the flower for decoration.
All of our beautiful gifts baskets come hand-packed and wonderfully presented when delivered straight to your chosen recipient’s door. So whether it’s a hamper to say thank you, or a gift from our Christmas gift hamper range, we’re on hand to give them a gift they’ll love.
