It’s National Wine and Cheese Day on 25th July, but we don’t need an excuse to celebrate.
We adore fine wines and delicious cheeses all year round, and our experts select the finest pairings for our luxury hampers. There is nothing quite like settling down for an evening with friends, to enjoy a cheese board, washed down with some wine.
Why not give your cheese board a little extra pizazz and make a Charcuterie board, full of fabulous cheeses, nibbles and of course charcuterie meats? A Charcuterie or graze board makes the perfect centrepiece for a drinks party or posh picnic. Not only does it look impressive and delicious, but it is simple to put together and also a fairly inexpensive way to make a foodie statement.
If you’re a vegetarian or even a vegan, the idea of making a Charcuterie board can be applied to all sorts of graze boards, from cheese boards, speciality diets, dessert boards, or brunch boards, the list is endless.

What is a Charcuterie Board?
Charcuterie – is pronounced “Shahr-kyu-tuh-ree” is a French word, that refers to a type of shop that specialises in prepared, cured, preserved, and dried meats.
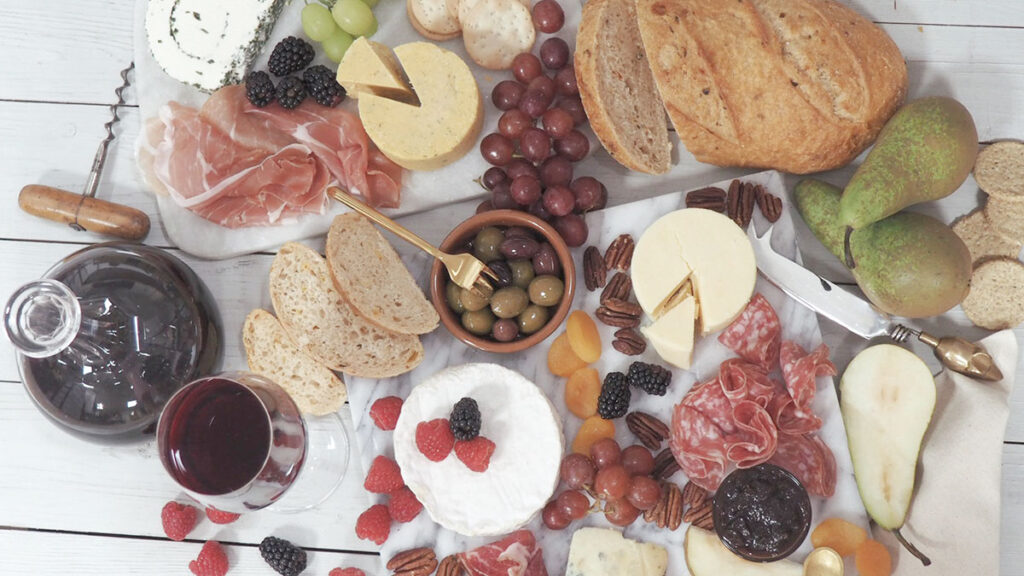
A classic Charcuterie board is a platter made for grazing, with a selection of cured meats, such as salami and prosciutto, alongside artisan cheeses, bread, and nibbles.
The best thing about a Charcuterie board is that it’s simple, it’s budget-friendly and it looks great!
How to prepare your Charcuterie board
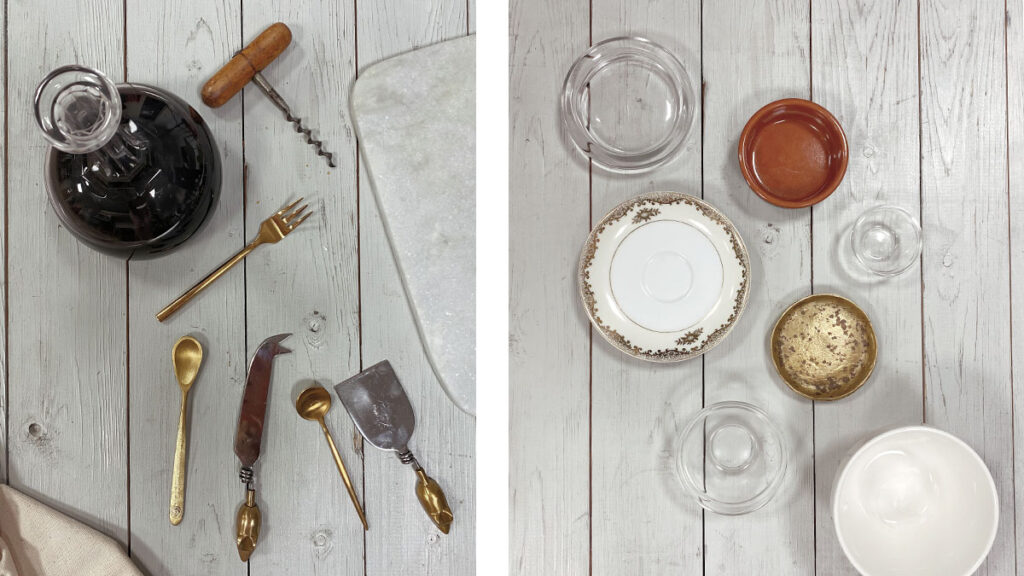
Tools that you’ll need
- A serving board
- A selection of cheese knives and small spoons
- Small bowls
- Napkins
What to put on your Charcuterie Board?
Charcuterie
It’s good to include a variety of different meats, such as Salami, Chorizo slices and Prosciutto. A good board will have between 3-5 types of cured meats, depending on the number of guests you need to serve.
Cheese
Choose a range of cheeses for your board, think about texture, colour, shape and of course taste! We’d recommend having 1-2 soft cheeses, like brie or camembert, plus 2-3 hard cheeses like cheddar or stilton.
Fruit
It’s best to pick fruit that will go well alongside the meats and cheeses you have chosen. Also look at what is in season, as you’ll be bound to get the fullest flavours this way. Grapes, berries, pears, and apples go well with cheeses and are inexpensive options. Things like olives and figs look and taste great too.
Pickles, Preserves, and Chutneys
A great addition to your board is to add some condiments that work well with cheese and meats. For instance, pickles add a rich acidity, whilst preserves bring some sweetness. There is also an array of chutneys that go beautifully, depending on your taste, such as Shaws
Caramelised red onion chutney.
Bread
A selection of different colours and shapes is ideal for bread. Choose at least 1 type of crusty bread, which can be sliced. Then also look at adding circular crackers, with different textures. Breadsticks also work well to add some contrasting shapes.
Nibbles
A great way to fill any gaps and add some savoury options is to scatter assorted nuts into any space you have left, we find pecans, almonds, pistachios, and cashews work best for both aesthetics and taste. But there is no rule, you can use whichever you like the most.
How to Make a Charcuterie Board?
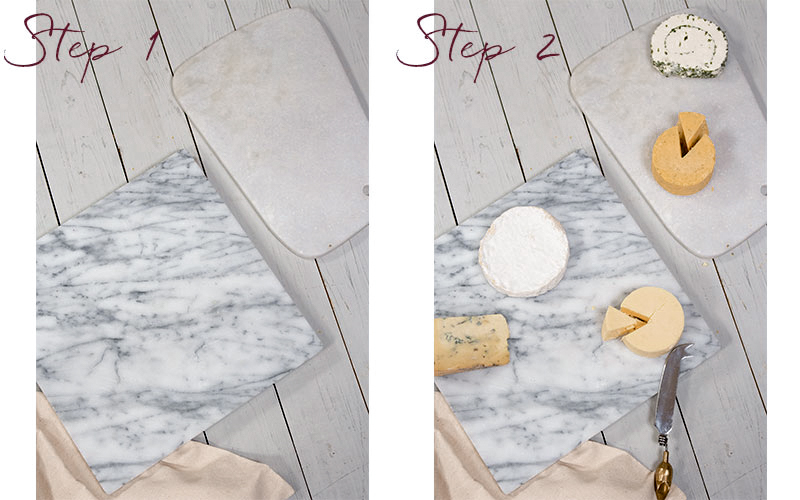
Step 1. Choose your Board
A Charcuterie board works well for all sizes of gatherings, you can make a small platter for 2 or put together a huge display that covers the entire length of your table. Equally, you can pick a couple of good-sized boards and fill them with your favourite nibbles, when you have a few friends coming over.
Wooden boards work well if you are going for a rustic aesthetic, a little more laid back and boho. Marble boards are perfect for a more sophisticated gathering, as it gives a high-end feel.
Step 2. Place the Cheeses
About an hour before guests arrive, place your cheeses straight from the refrigerator and onto your board. This allows the cheese to reach room temperature and release its full flavour. Spread your cheeses out so that they aren’t all in one section of your board. Once you are happy with the placement, cut a little wedge of cheese out of any wheels and crumble the corner of any wedges. This works well for 2 reasons, the first being it looks great! The second is that it helps your guests know the portion size of each type of cheese.
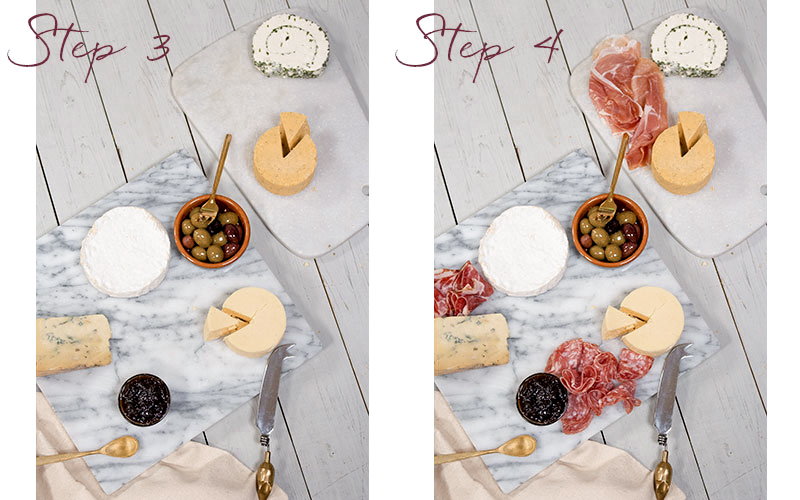
Step 3. Add any Bowls
Next, spoon any condiments that you’d like on your Charcuterie board into small bowls. As these are the largest, bulkiest items after the cheese, it’s best to place them down next, and spread them out, so that they are nicely placed. A good tip is to make sure the best-matched chutneys and cheeses are placed close together.
Step 4. Organise the meats
Now it’s time to add the charcuterie meats to your charcuterie board! By folding the different meats in different ways, you can create interest and texture on the board. With round meats such as salami, you can fold in half and then half again creating a floral shape, and then place them together on the board. Fold prosciutto back onto itself in an artisan manner, do not be too precise as it looks better when it is more random.
Keep the different types of meat separate from each other, so it is easy for your guests to know which is which.
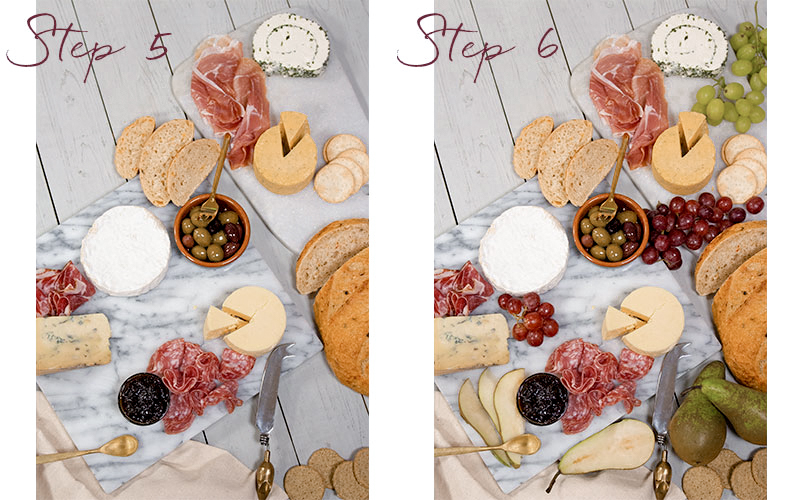
Step 5. Arrange bread and crackers
Now it is time to slice some bread and add it to the board. It can look best to leave a large loaf next to the board, with one slice cut away, so guests can continue to slice from there. Then just add a few small oval shape slices to decorate a corner of the board.
Now add crackers or breadsticks to some areas of the boards that have space and think about items they might go well with. It works best to fan out the crackers, instead of stacking them on the board. Don’t be shy, your guests will want to have options.
Step 6. Fill the gaps with Fruit
Layer up with some small bunches of grapes, pears, or apples. It looks good to slice a few pieces of pear or apple and place them on the board but try to do this just before serving so that fruit doesn’t begin to brown.
Step 7. Add nuts
With the last little gaps, sprinkle small amounts of nuts, just make sure none of your guests have a nut allergy before adding these. A good substitute for nuts would be seeds, such as pumpkin seeds. Raisins, dried cranberries or apricots would also be a lovely alternative.
Step 8. Sprinkle on the berries
If you have any gaps left over, use berries such as raspberries, blackberries, and blueberries as a garnish in any spaces you may have. Do not worry about being ‘messy’ as this will help with the overall look of your Charcuterie board.

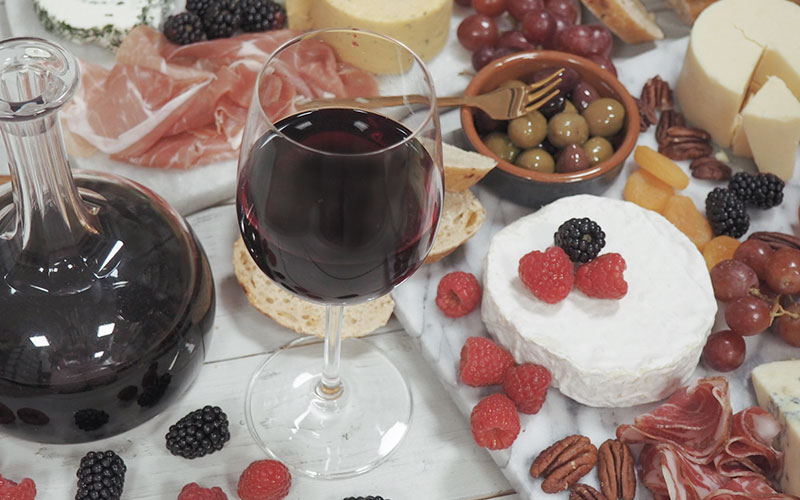
Step 9. Serves some wine
Last but certainly not least, choose some wine that suits the cheeses and meats you have on display. We have chosen the Les Marins Merlot Pays D’oc which features in our ‘Cheese and Wine’ hamper. This red wine has a prominent undercurrent of blackberries and currants, with a medium body, the perfect accompaniment to cheese.
To make it easy for your guests to graze and choose their favourite nibbles, make sure you have some little forks and spoons out. They will also need some small plates and napkins ready to use. Don’t be shy about digging in yourself, as your guests may be a little apprehensive about spoiling your wonderful display, it is good for them to see you tucking in!
Remember variety is key, try not to be too precise, a charcuterie board works best when things are slightly hap-hazard and spilling over.
Perfect Wine and Cheese Gifts
We have an array of hampers that are the perfect base for a Charcuterie board or wine and cheese party! This includes red and white wine hampers and a whole selection of wonderful cheeses and chutneys.
-
 Six Wines in a Wicker Hamper£100.00 Inc VAT
 -
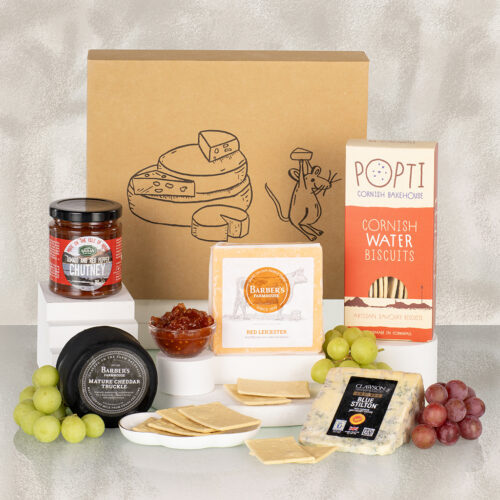 Cheese Box£28.05 Inc VAT
 -
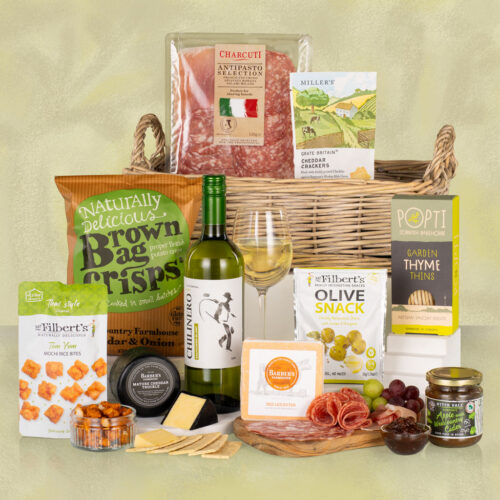 Deli Delights£65.10 Inc VAT
 -
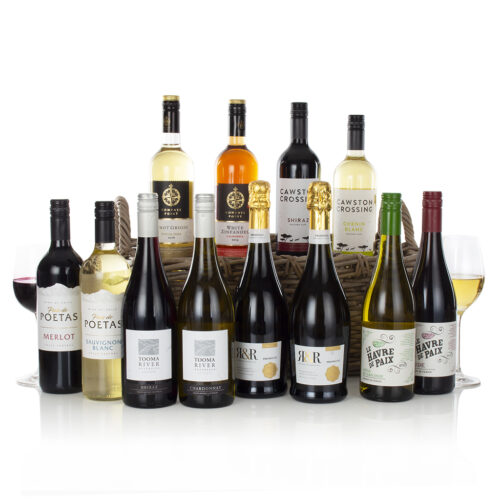 Twelve Wines in a Wicker Basket£150.00 Inc VAT
