If you have decided to make a special personalised hamper as a gift for someone in your life, or to thank someone for a job well done, don’t panic, it’s not as hard as you might think to make sure that your hamper looks professional and impressive.
There are such a wide variety of hampers to choose from, from what you put in them, to what you choose for the box, so these are just our suggestions on ways to make your particular hamper look amazing, whatever the occasion.

Choose your hamper container
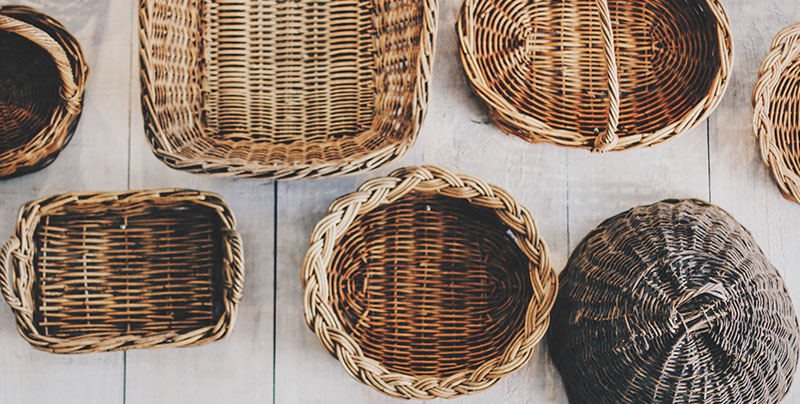
The first thing you need to do is choose the container you want to use for your hamper. Traditionally it will be a basket or a wicker hamper box, but you can use whatever you like as long as you can fit all your contents into it securely. Gift boxes can make the perfect container for a Christmas hamper but there are many options. You don’t have to make it look like a pre-made hamper.
You could re-use a cardboard box and decorate it personally or buy a reusable storage box from a craft store.
Alternatively, the container could be related to the gift, like a large flowerpot for a gardening hamper, or a food container or saucepan, for a food-related hamper.
Choose your packaging material
The next thing you will need for your hamper is some packaging material to lie your items in.
This will help protect against movement and breakages, but you can also choose materials that look great or that go with your theme.
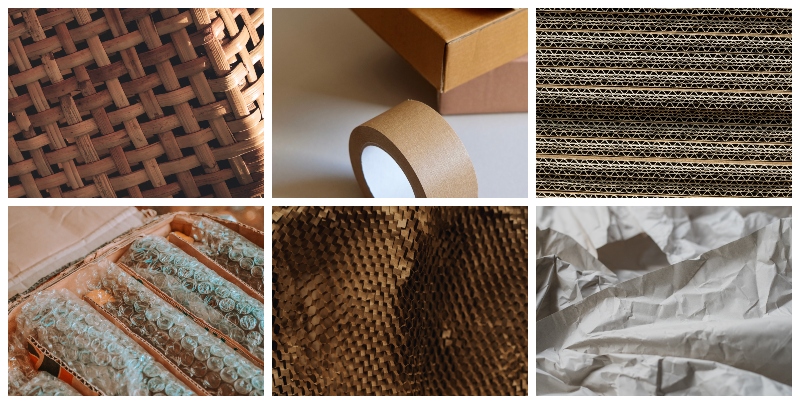
Material that is traditionally used for hampers includes shredded paper, polystyrene chips, bubble wrap or straw but you can choose whatever works best for your purposes.
You might want to choose a soft fabric to protect and display your items.

As a tip, it’s a good idea to put in a layer of tissue paper under them, to help protect the bottoms of the items and these can be bought in most colours to match your packaging material or theme.
If you have easily damaged items, it might be worth wrapping their bases in tissue as well, for protection and to stop them moving around.
Organise your content items
To help you pack your hamper effectively, you need to organise your items into several categories.
You need to put aside the heavier and bigger items, and also keep the items you know they will be most excited to see, to one side as you will want these on show the most.
Start with the heavier items
To make sure you can fit everything into your chosen container, start with any large piece and the heaviest items first.
You can bury them slightly in the packaging material as they will still show but use them to stabilise the hamper and create interesting layers for the smaller items.
Next add the smaller items
Once the gift hamper is stable with all the largest items, you can start to position the smaller items in between them, filling any gaps and making sure they don’t get lost in the packaging material, although it’s always fun if the person has to dig in to find their treats.
Finish with the favourite items
Now that all the main items are in the gift hamper, you can add in the favourite items that you kept to one side, and make sure they are displayed prominently at the front of the hamper, so they will be the first thing the person sees through the cellophane.
Add extra packaging if needed
It’s good to make sure all the items are propped up, or sitting at an angle, to make it look more interesting and you can do this by adding in extra packaging material such as shredded paper as you go along, to help support the products securely.
Be patient
If it’s your first hamper, be patient and be prepared not to like the way it looks first time.
The good thing with a personalised hamper is you can just move everything around time and time again, until you get it just right.
Decorating your packed hamper
Once you have finished packing your hamper, you can add the final touch by decorating it.
The traditional way to finish off a hamper is to wrap it in loose cellophane wrap and tie it in a bow, or you can use a cellophane basket bag if that’s easier. You could even use wrapping paper if you want it to look festive.
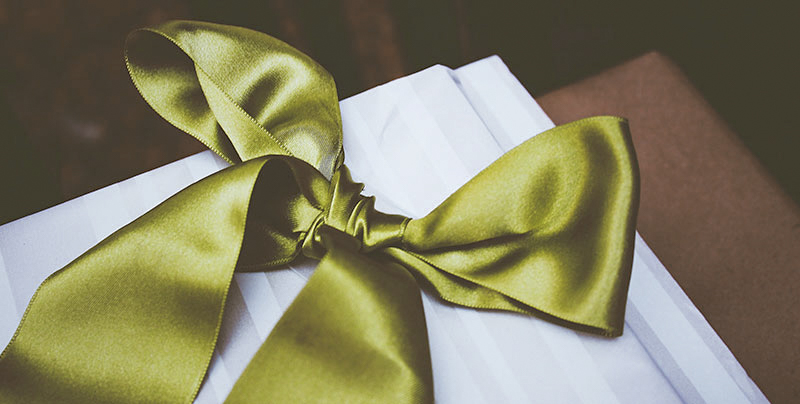
Then it’s up to you to add some decorative touches such as a bow or ribbon, or you can use seasonal decorations such as slices of dried orange at Christmas, or a sprig of flowers in the springtime. You can also create and add your own gift tags for your gift hampers and secure them with sticky tape.

Planning for your hamper baskets
While we have jumped straight into how to pack a hamper to make it look great, that is assuming that you’ve already chosen all your contents and that might not be the case so here are some of the things you need to think about when planning a hamper.
Consider firstly, who it’s for and what they like the best. Make a list of their favourite colours, tastes, treats, flavours, hobbies, just anything that springs to mind helping give you some inspiration. What do they do for work and in their spare time?
How to choose what to put into your hampers
Once you have your list of things about the person you want to make the hamper for, then you need to start to think about what to put into it in the first place.
It can be tricky as the world is your oyster with so many things to choose from, so here are a few ideas to help you.
Select your hamper theme
Most pre-packed hampers that you see in shops have a theme, so that all the items within them are complementary to each other, such as cheese and wine, or hot chocolate and marshmallows, so it helps if you can pick a theme for the hamper you are making too.
If it’s for a birthday present and not just a seasonal gift, how about making a hamper around their hobby or interests?
Wild bird lover hamper – include bird seed, a bird guidebook and a pair of binoculars
Dog walking hamper – include a water bowl, guide to dog walks in the area, a blanket
Cycling hamper – include guide to cycle routes, voucher for bike shop, water bottle
Cocktail-making hamper – include cocktail shaker, cocktail glass and recipe book
Baking kit hamper – include ingredients and recipe book
Candles and scents hamper – include candle making kit, bottle of their favourite scent
Once you have chosen your theme you just need to choose personal items that they will really appreciate, based on what you know about them.
The whole point is to make it personal and to show how much thought you have put into developing this hamper just for them.
It doesn’t need to be expensive, just from the heart to show them how much you have been thinking of them.
Here are some other example themes you could choose when planning to make your own hamper:
Cheese and treats hamper
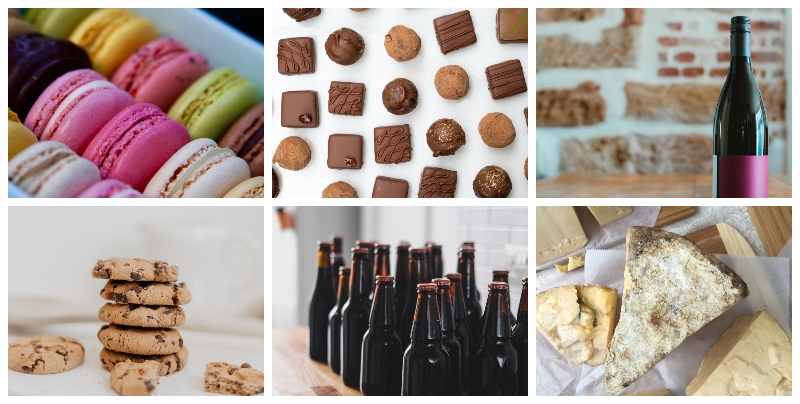
For this one, avoid soft cheese as they can get crushed in the hamper and don’t just include their favourite cheese.
Look for flavours they might never have tried and include useful items that go with cheese.
You could add in jars of chutney, boxes of crackers, a cheese knife and a cutting board. Jars of olives and cured meats also go well with cheese.
You could even look to add a bottle of wine to go with it as a luxury.

Celebration or Christmas hamper
For a really special occasion why not make a hamper with some real treats like a bottle of sparkling wine with a bottle of fresh orange juice and a box of luxury chocolates.
You could include some fancy glasses for the drinks as well.
If it is a Christmas hamper you can include seasonal elements like dried orange slices, pine cones and other seasonal goodies for that special someone.
You could also make a hamper where everything inside is wrapped up in wrapping paper, with a card at the front, for a really colourful and literal gift basket full of exciting gifts to discover – perfect for a special birthday.
Beer hamper
With so many craft beers and ales it’s easy to put together a hamper for the beer fan in your family and try adding in drinks they’ve never seen, along with some snacks to go with them such as crisps and nuts.
Maybe include a beer towel or beer mats and a personalised pint glass for that extra touch.
Baked goods
For a really personal hamper, why not bake your friend some luxury biscuits and even some cakes to include in a hamper full of sweet treats.
This could also include an alcoholic tipple or some mini jars of jam and marmalade to go with the biscuits.
You will need to pack these carefully, so they don’t get squashed.
Now that you know how to plan and choose the contents for a gift hamper and how to pack a hamper so that it looks great, all you need now is to go out and start buying everything you need to create the perfect homemade hamper, ideal for Christmas gifts.
