
Before you wrap your hamper
When it comes to creating a beautiful and personal gift for someone, a gift hamper basket piled high with all their favourite treats has to be one of the top choices, and it’s so easy to make one yourself.
Once you have chosen the theme for your hamper, whether it’s a chocolate and wine hamper, luxury toiletries, or a range of sweet treats, all you need to do is get it looking great to make it the perfect gift.
One of the easiest ways to make it look really professional and attractive is to wrap it in shiny cellophane and tie it with a beautiful bow. It’s still one of the standard ways to finish a gift basket or hamper, and it’s not as difficult as it sounds.
Before you reach for the scissors, make sure your hamper is fully assembled in the basket or box you’re giving it in by following how to pack a hamper. Wrapping always comes last.
Choose the right cellophane
Cellophane normally comes in large rolls, similar to Christmas wrapping paper. You should be able to buy it from your nearest craft store, and UK craft suppliers sell clear rolls alongside hamper extras like ribbons, tags and bows.

Which type you buy depends on the style of hamper basket wrapping you want. If you want the recipient to see what’s inside straight away, go for clear cellophane. If you’d rather match your ribbon or reflect the contents, coloured and patterned versions will give a different look.
Next, check the size. If your basket is wider than the roll, the film won’t wrap all the way around, however much of it you unroll. So measure across your basket first and compare it with the roll width. Common retail widths are 30 inch and 40 inch.
Not sure whether to go for a roll or a bag? It depends on your hamper:
- A roll lets you cut each piece to fit, so it’s handy if your baskets vary in size and it helps cut down on waste.
- A pre-made hamper bag comes gusseted and ready to gather over a filled basket, which saves you cutting from a roll. Just make sure the bag is comfortably big enough for your filled hamper. Bags are less flexible if your baskets are very different sizes, and very wide or odd shapes may be easier with a roll.
What you need
Here’s your quick checklist:
- Clear cellophane, usually on a roll so you can cut it to size
- Sharp scissors for cutting the cellophane and ribbon. Dull ones tend to snag and tear thin film rather than slicing through cleanly.
- Clear tape for securing any loose folds or seams
- An elastic band or twist tie to hold the gathered top temporarily
- A ribbon or bow to cover that fastening and finish the top
Useful but optional: a measuring tape, a gift tag, and some filler such as tissue or crinkle paper, especially if your hamper is large or uneven.
Step-by-step guide to wrapping a gift basket
1. Clean your work area
You’ll need plenty of room to spread the cellophane out, so a flat surface like the floor or a large table is best. Make sure it’s clean and dry, and that your hands are too, so you don’t get snags or bits sticking to the film.
2. Measure generously
Unroll a good length of cellophane and put your hamper in the middle. Pull the cellophane up on either side. You need enough to run under the base, up both sides and still gather above the tallest item. As a rough guide, some wrappers cut a piece about three times the basket’s height, plus a little margin.
It’s always better to cut it too long than too short, as a short piece won’t cover your hamper properly. Cutting too small is one of the most common wrapping mistakes. If it’s too long, you can always trim it at the end, so err on the side of caution here.
Working on a really big or unusually shaped hamper? Cut generously, or use a bag sized to fit the basket. You might need to cross two pieces under the container so each side is covered. As long as you have enough to cover, that’s all that matters.
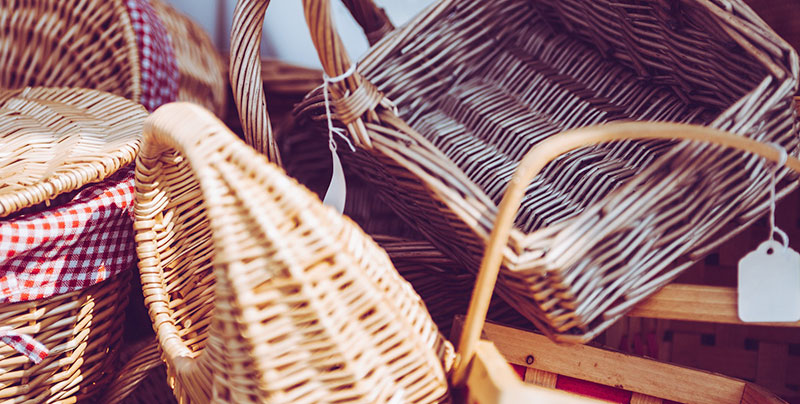
3. Cut with sharp scissors
Use sharp scissors and glide them right through the cellophane to create a nice smooth edge, with no tears or ragged bits.
4. Only wrap a packed hamper
Make sure your hamper is fully packed and ready before you start, so everything is in the perfect position when you finish the edges and tie the bow. (There’s more on this just below.)
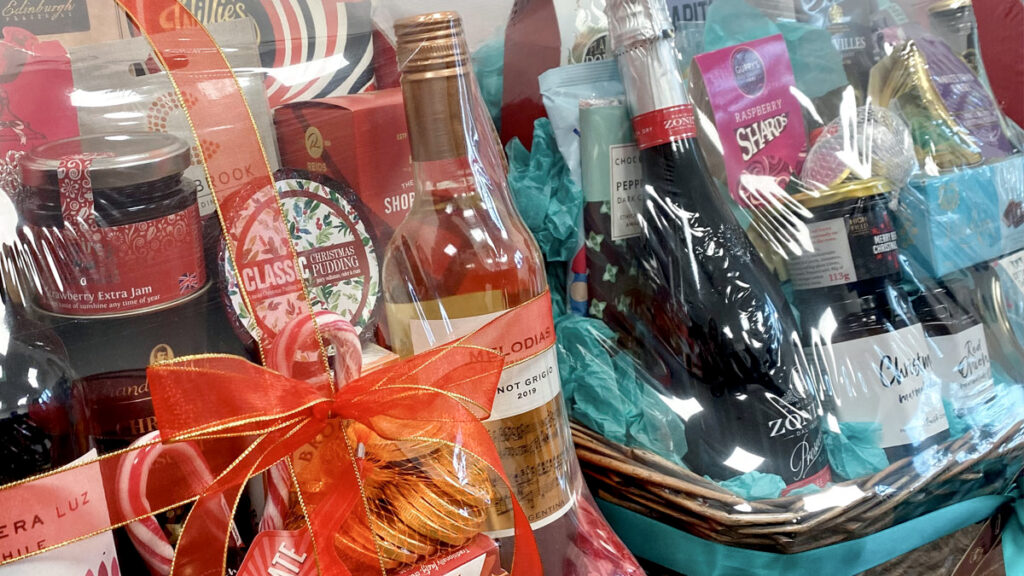
5. Centre your hamper and check the seams
Place your hamper right in the centre of the cellophane, with even overhang on every side, and line it up parallel with one of the straight edges. This is so you don’t get a seam up the front, but instead a clear window of cellophane to look through. Skipping this centring step is a common error.
6. Pull the film up evenly
Bring the cellophane up evenly from all sides and gather it above the handle or the tallest item. On a shallow or wide basket, fold the side film into narrow accordion pleats as you bring it up for a tidier look.
7. Secure, decorate and trim
Hold the gather with an elastic band or twist tie, then cover it with ribbon and trim the top (see “Finish the gathered top” below). Finally, go round the basket and tuck away any loose cellophane, using small pieces of clear tape at the back or underneath where nobody will see them.
Pack and steady the contents first
Why does this matter? A lovely outer wrap won’t stop wobbly contents shifting about underneath, so get the inside right first. Presentation and packaging are key; packing tightly and balancing the height makes wrapping much easier and gives a more professional finish.
- Line the bottom with filler such as tissue, crumpled paper or shreds, and use it to fill gaps so everything sits snugly.
- Put heavier items at the base and steady bottles so they can’t tip or crush anything.
- Place taller bottles or boxes at the back and smaller items towards the front, so nothing is hidden.
- If light items might slide around, anchor them to the filler or base with double-sided tape or glue dots.
Finish the gathered top
This is where you create that pretty cellophane “flower”. Hold the gathered film together above the tallest item. It doesn’t have to be smooth, and it’s fine if it’s a bit messy at this stage.
Secure it temporarily with an elastic band, twist tie or pipe cleaner. Elastic bands hold well, but they aren’t very decorative, so you’ll want to cover them.
Next, tie your decorative ribbon or bow over the fastening. Not only will it look beautiful, it’ll help secure the cellophane too. Wired ribbon is great for big bows that hold their shape, while curling ribbon is handy for cinching and curly tails. Thread your gift tag onto one of the ribbon tails so it can be seen without unwrapping.
If you’d like curly fronds dangling over your hamper, run the ribbon carefully along the edge of closed scissors. It’s optional, but it does add a lovely touch.
Only once the ribbon is secure should you trim the excess into a neat fan or plume. Go easy here, as cutting the top too short leaves you without enough for an attractive finish. And skip big strips of tape across the front; a few small pieces of clear or double-sided tape keep things much neater.
Using a pre-made bag instead
If cutting from a roll feels a bit fiddly, a pre-made hamper bag is a handy shortcut. Gusseted basket bags are ready to gather over a filled basket, so there’s less cutting and sizing to think about, which is especially useful if your baskets are all the same size.
Bags come in a few styles. Some are heat-sealable, some have self-adhesive flaps, and open-top hamper bags are simply finished with a bow or sealing sticker. Whichever you choose, place your filled hamper centrally at the bottom and check the bag is big enough to contain it before you close it. Then gather the top and finish it with your ribbon, just as above.
Just don’t mix up an ordinary cello bag with a shrink bag. Cellophane holds a crisp shape and doesn’t shrink, whereas shrink film is fitted loosely and then heated so it hugs the contents tightly. So only heat a bag that’s made for shrinking, and follow its own instructions.
Shrink wrap gives a really polished, tight finish and holds contents better for travel than cellophane. Bear in mind that once a shrink bag is sealed, you can’t easily open and reclose it, so make sure everything is in place first. Keep the heat moving, too, because holding it too long in one spot can melt holes in the film, and that’s tricky to fix.
Quick fixes for a neater finish
Things don’t always go perfectly first time, and that’s fine. Here’s what to do:
- Looking slack? If you’ve got enough cellophane gathered at the top, twist it just above the basket to pull it tight, then secure the twist with tape or a twist tie. Tie your ribbon over it so the fastening stays hidden.
- A small tear? Cover it with a ribbon or sticker rather than taping it up on the front.
- Badly slack or damaged? Don’t battle with it. Start again with a correctly sized sheet or a bag that fits, and you’ll get a much tidier result.
Send a beautifully presented hamper
All of our beautiful gift baskets come hand-packed and wonderfully presented when delivered straight to your chosen recipient’s door. So whether it’s a hamper to say thank you, or a gift from our Christmas gift hamper range, we’re on hand to give them a gift they’ll love.

