
When it comes to giving someone a perfect gift, you can’t go wrong with a gift hamper full of lovely goodies, and if you make it yourself, you can give it a personal touch that suits the person you’re making it for.
It’s not difficult to make up your own personal gift basket or gift hamper and still have it looking as good as the professional ones you can buy in the shops. You just need a bit of time and patience.
Personalised gift hampers are a great way to say thank you, so we’ve created this eight-step guide on how to make your gift hamper look great. It takes you from choosing a theme, through picking your container, filler and contents, right up to the final decorations, so you can easily create your own gift basket for any occasion.
Eight steps for making a personalised gift hamper
Most hamper makers follow a similar order: start with the recipient or a theme, choose a container that suits the occasion, then add filler and layer your items so everything looks balanced. It’s not the only way to do it, but it’s an easy route to follow, so let’s go through each step.
1 Choose a theme
The best place to start is with a theme for your gift hamper, because it will help you decide on your colours, materials and, most importantly, your container and contents.
If it’s for a specific occasion like a baby shower or a wedding, you can look at ready-made hampers for ideas and use that occasion to shape your theme.
However, if it’s a birthday hamper, or to say thank you, there might not be a specific theme, so you need to think about the person and what they are interested in. Maybe consider their work, or their hobbies and interests.
Here are some possible themes you could consider:
A food theme – look at their favourite foods and flavours and pick one, so it could be a gift hamper filled with meats and sauces for a barbecue, an after-dinner hamper with a selection of cheeses, or a wine gift hamper.
A garden theme – if gardening is their pride and joy, you could fill a gift hamper with gardening items like some new gloves, seeds for their favourite plants and decorative pots. You could even include some hand cream and tea bags for when they’ve finished outdoors.
A craft theme – does the person enjoy a particular arts or craft hobby? Why not fill the gift hamper with materials like paints, fabrics and other items they’ll enjoy?
Your theme can also guide your colours. A consistent colour palette helps the finished hamper look unified, and matching your colours to the season or occasion is an easy way to find one.
Remember, though, you can put just about anything into a gift hamper. There are no hard and fast rules for how you want it to look, and you don’t have to have a theme if you don’t want to. Just keep picturing how the finished hamper will come together as you go.
2 Choose your container
Most people think of a hamper as a wicker basket of some description, but the truth is you can use any kind of container to create your own personalised gift hamper. If you have a theme, you might want to choose a container that reflects it.
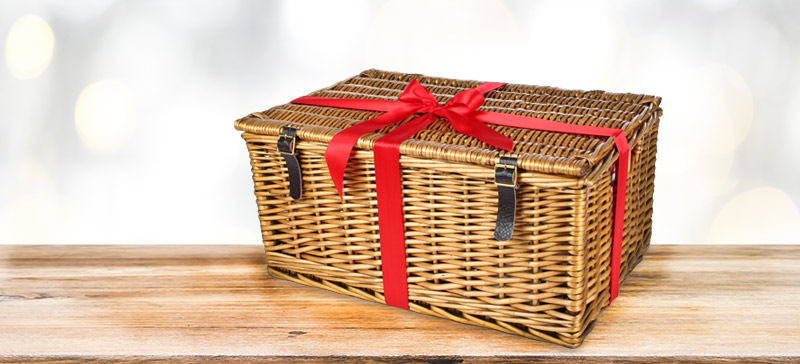
Here are some examples of alternative containers you could use:
- a wooden box
- a reusable bag
- a decorated cardboard box
- a wooden tray
- a wicker basket
- a gift bag
- a large terracotta plant pot
- a bucket
You can find many of these relatively cheaply in craft or DIY shops, you might have them lying around at home, or you could have a look in a charity shop to see what you can find.
Here’s a simple rule to help you decide. It’s easiest to pick your container once you have an idea of the number and size of your gifts, because the right size depends on how many items you have, how tall they are, how fragile they are and how you want to present them. Your container also needs to be sturdy enough to hold and protect your treats on their travels.
Don’t go too big, either. A large basket with only a handful of items can look lost, while an overfilled one feels less considered. If your basket has a handle, check that it won’t hide your best pieces when you look at it from the front.
If you’d like a classic basket to fill with your own chosen items, take a look at our empty hampers and baskets for ideas, including traditional lidded baskets as well as trays and boxes.
3 Choose your contents
The next step, now that you have your theme and your container, is to start selecting what goes inside.
A clear theme makes this a bit easier, helping you narrow things down to items your friend would enjoy receiving. If you’re making a Christmas hamper, for example, you know to choose festive contents like mince pies or Christmas crackers.
You can be as creative as you want. Traditional hampers might be full of fine foods, but you can include anything that comes to mind, as long as it’s personal and something the recipient will really appreciate and use.
If the person already has lots of wine glasses at home, for example, don’t fill the hamper with fancy wine glasses as they don’t need them. You could choose personalised wine labels and an unusual corkscrew instead. Try to pick things they probably wouldn’t buy themselves, and if you’re on a budget, second-hand and charity shops can be worth a look if what you find suits the theme and the person.
It also helps to think about balance, such as mixing sweet, savoury and a drink, or building around one stand-out item with a few supporting pieces. A favourite “hero” item gives the hamper a focal point, so the other items support it rather than compete for attention. If something doesn’t fit the theme or is only there as padding, leave it out and put that money towards fewer, better items.
To make your hamper stand out, choose items in a mix of heights and shapes, and keep the overall look open and easy to read rather than crowded. Before moving on, do a quick check: will everything fit comfortably, and can you picture each item still being visible?
4 Think about making items yourself
To make your hamper really personal, you could think about making some of the contents yourself.
Think about things like a personal scrapbook or photo album, or if you’re good in the kitchen, some tempting baked treats or jars of home-made jam and chutney.
If you’re good at crafts, you could make a personalised decoration, picture frame or piece of jewellery to go into the hamper. It’s really up to you, but make sure whatever you make suits your skills, your time and your theme, and is something they’ll appreciate.
You could also raid craft shops or bargain shops for supplies. For example, buying craft materials, pens and papers to create a craft hamper needn’t cost the earth. Once you’ve got your handmade pieces, picture where they’ll sit so they can be seen.
5 Choose your filler materials
When it comes to displaying your hamper, this is where your skills come into action. It might take time and patience, but the end result will be totally worth it.
Filler does a few jobs at once. It lifts your items, holds them in place so they don’t move around, and helps reduce the risk of breakages. Layering with shredded paper, tissue paper or wood wool also builds depth and makes the contents look fuller and more inviting. If you have a theme, choose filler that matches it in tone and colour.
It helps to know which material does what. Crinkle or shredded paper is your structural filler, because it springs back, holds its shape and resists compressing under the weight of your items. Tissue paper is softer and, on its own, collapses under weight and won’t hold height. So the easy approach is to cushion the base with crinkle paper, then add a soft layer of tissue around the rim for a boutique finish.
You could also use a folded small towel or blanket as part of the base, which then becomes an extra gift too.
Now for the amount. Start with a modest bed of filler across the base, aiming to create lift rather than a loose mound. Place a few items, then add or take out filler as needed. You’ll know you’ve used too much if products start disappearing into the shred, a lid presses down on the contents, or the hamper looks bulky and untidy.
6 Arrange all the items
Now we get to the really fun part and almost the final step in making your hamper look really good.
Firstly, sort your items into three piles: the larger and heavier items, the items your friend will like the most, and all the smaller items. Keep your filler to hand too, as you’ll need it at this stage.
Start with the heavier items, such as wine bottles. Heavy items belong at the base, where they anchor the arrangement and won’t crush anything lighter, and never put them on top of anything fragile. Taller items generally go towards the back or centre, with progressively shorter items in front, so you get height variation and every label stays visible.
Next, tuck filler around your items to lift and steady them, and wedge any gaps, or use dividers or inserts, so nothing slides out of place. If something still looks wobbly, clear sticky tape or ribbon can help secure it to other items or the container, but glass and other fragile pieces still need their own cushioning so they don’t touch each other.
Then add your smaller items around the larger ones, leaving room at the front for the pieces your friend will love most. Turn labels and the faces of packaged items forward where possible, so everything can be seen.
You can take your time with this, and if things don’t look right, take them out and start again. You might need some patience, but it’s all part of the creative fun.
If you have some small spaces left, you could fill them with things like individually wrapped chocolates, biscuits or hot chocolate, or decorative items like silk flowers, as long as they fit your theme.
If you’re making a birthday hamper, you could even go one step further and wrap each item individually, so you’re giving them a mystery hamper full of lovely presents to open. Or if your theme is a single colour, use different shades of it to keep the hamper bright and vibrant.
Finally, give the hamper a gentle shake. If anything tips or moves, add a little more filler or secure it before you wrap. Then step back and look at it from the front: are your favourite pieces the first things you see?
7 Wrap your hamper
Wrapping is optional, and you can choose the finish that suits your hamper. If you’ve chosen a container with a lid, you might not need to wrap it at all, and an open basket tied with a wide ribbon can feel relaxed and boutique.
If you want the recipient to see the contents straight away, go for clear cellophane. It gives a polished, professional finish and helps keep everything secure. You can also buy it in colours and patterns to match your theme.
Here’s an easy way to do it. Roll out a length of cellophane and place your container in the middle. A handy guide is to cut a sheet around three times the height of your basket, but check it’s enough to cover the whole hamper with some left over. Next, pull the sides up, pleating the edges as you go, and cinch the wrap just above the tallest item. Secure it with a rubber band, twist tie or tightly tied string, then tie a ribbon over the fastening to hide it. We’ve also got a full guide on how to wrap a hamper basket in cellophane if you’d like more detail.
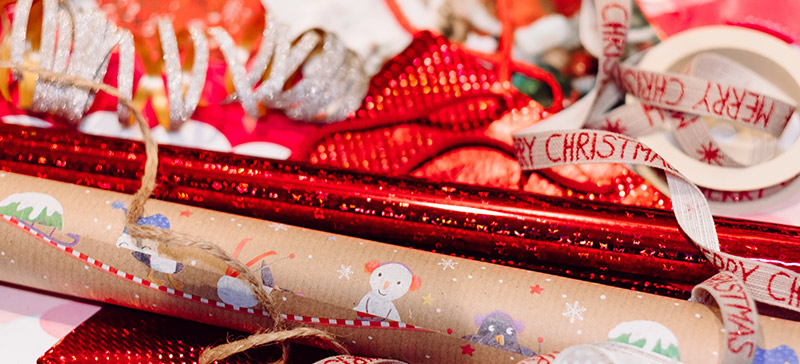
If you’d rather not use cellophane, you could wrap your container in wrapping paper or fabric. For example, a food hamper could be wrapped in a decorative tea towel or scarf, which then becomes part of the gift. Whichever you choose, check the top looks neat and the front still shows off your best items.
8 Decorate your finished hamper
Once your hamper is wrapped, you can add the finishing touches. A ribbon or bow is the classic choice, and you can match it to the season or occasion. Wire-edged ribbon is handy because the bow holds its shape.
You can also attach a decorative item that goes with your theme, for example a pair of knitted booties for a baby basket, or a small sprig of flowers for a wedding hamper.
Don’t forget a gift tag. A handwritten one makes a lovely final flourish, and you can punch a hole in it and thread it onto one of the ribbon tails before tying the final knot.
To keep it looking polished, repeat colours you’ve already used in the hamper. Sticking to two or three colours for your tissue, ribbon and tags is a useful guideline, though there’s room to play. Choose just a few decorations, each with a clear purpose, so the outside doesn’t compete with what’s inside.
Finally, take one last look from the front. Can you see the bow, the tag and your favourite gifts? If so, your hamper is ready to give.

